
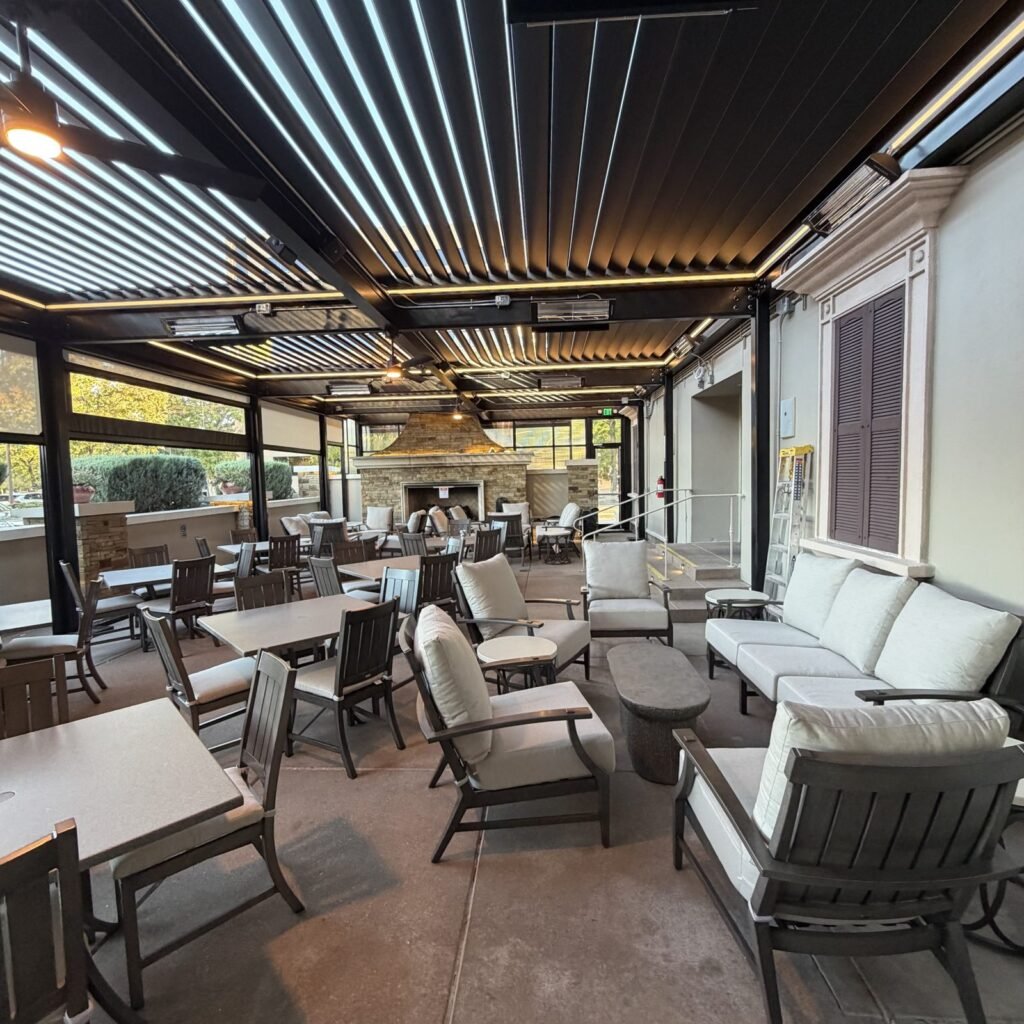
If your HOA rejected your first application for a louvered pergola, you are not alone, and it is rarely the end of the road. Most rejections come down to missing documents or a few design details. The fix is usually to read the denial carefully, provide clearer drawings and product information, and adjust things like height, setbacks, color or drainage to match the HOA’s guidelines. Here is how to approach a resubmittal.
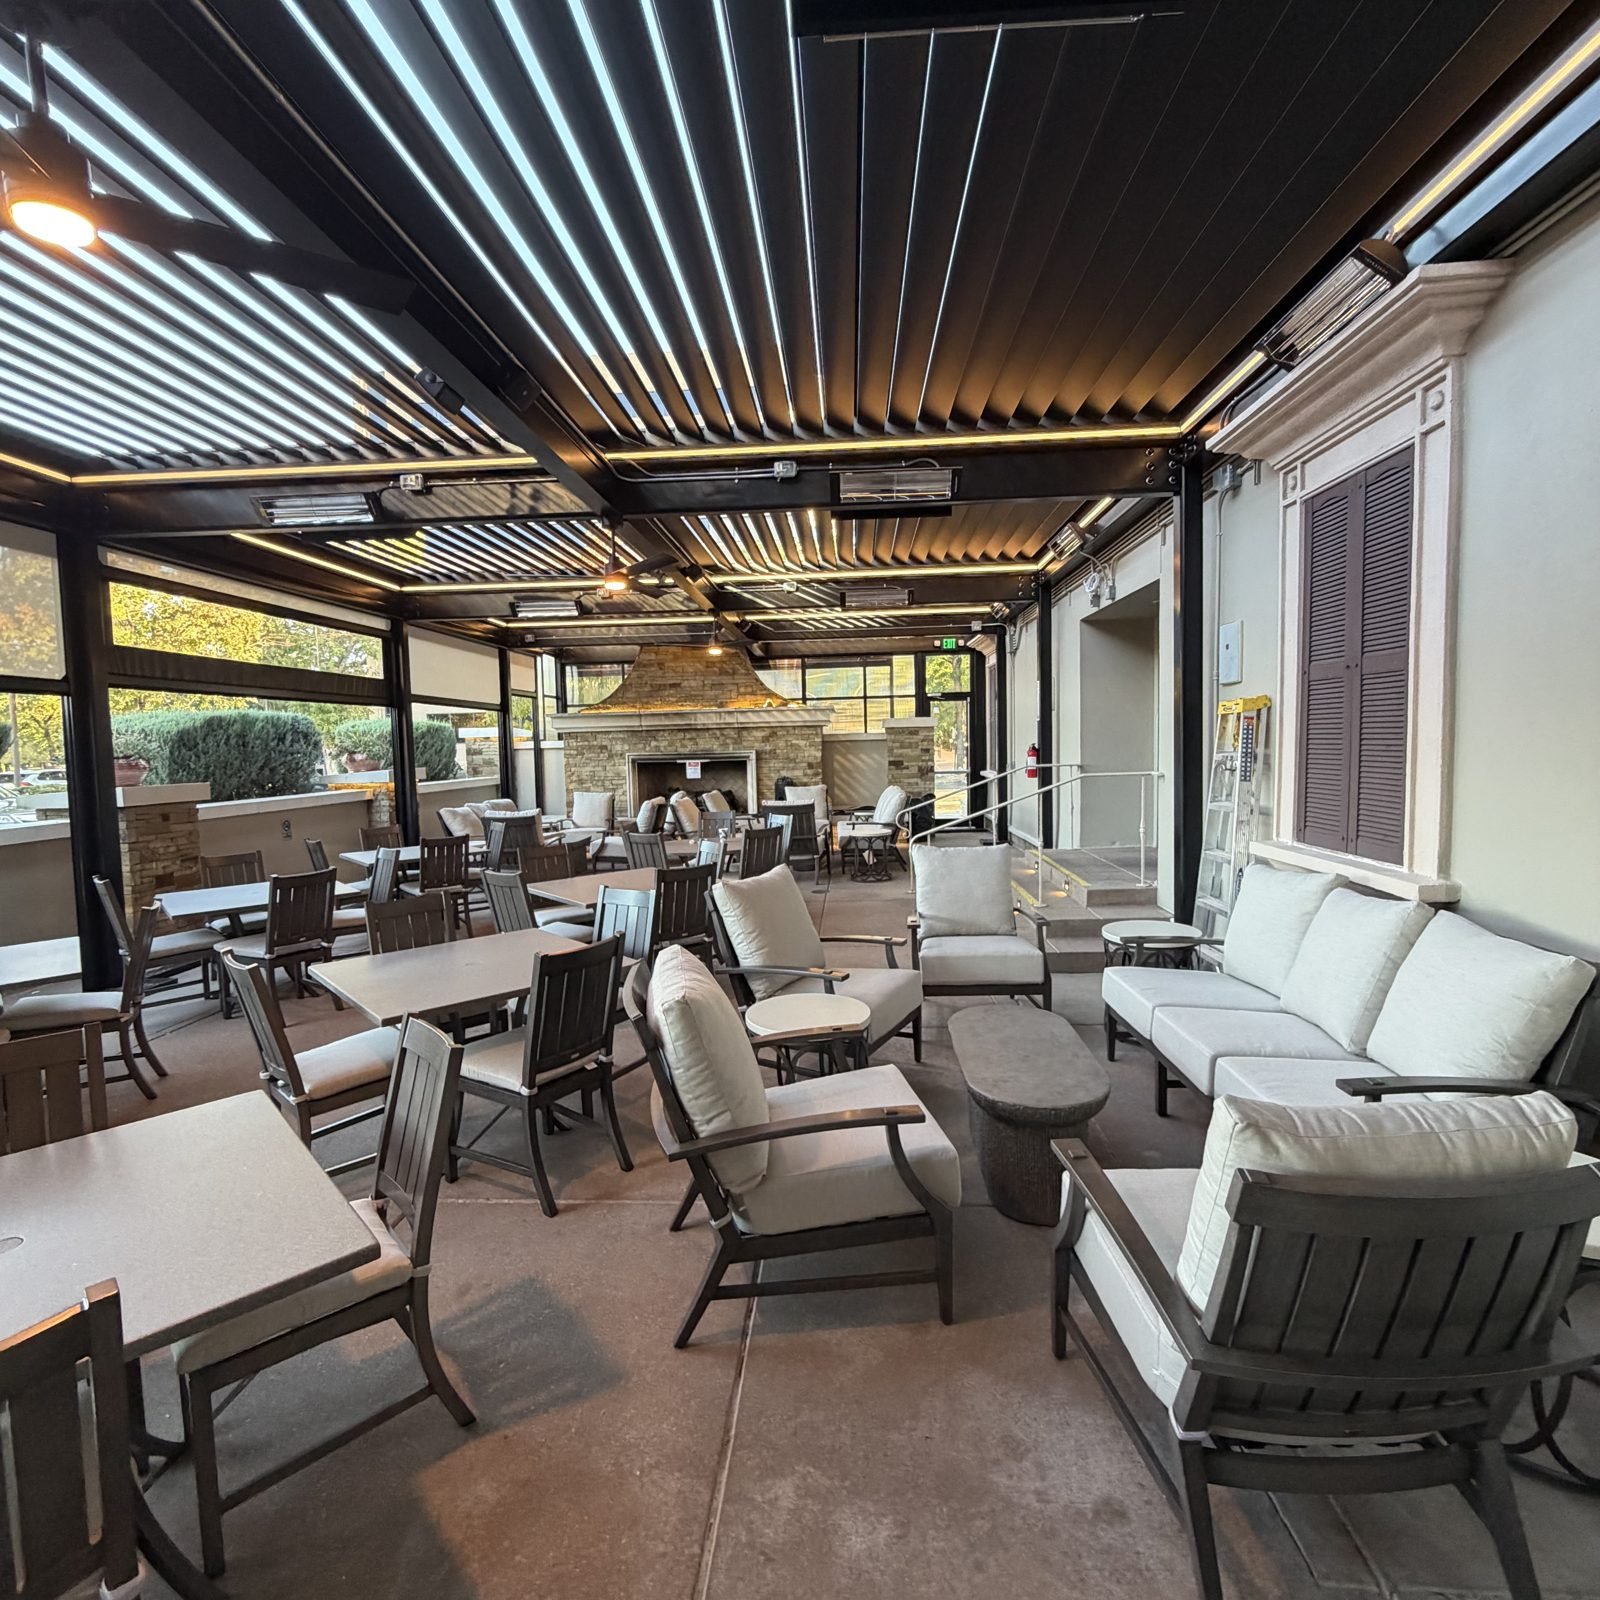
Step 1: Find out exactly why it was rejected
Ask the HOA or architectural control committee (ACC) for the reason in writing. Common reasons include:
- Not enough information (no site plan, no elevations, no product details).
- Height above the allowed limit.
- Too close to a property line or easement.
- Color or material that does not match the home.
- Concerns about drainage onto a neighbor’s lot.
- Visibility from the street.
Also get a copy of the current deed restrictions and design guidelines. They often answer the question for you.
Step 2: Documents that usually help
A strong resubmittal typically includes:
- A site plan or survey showing the pergola’s location and distances to property lines, easements and the house.
- Elevation drawings with overall height, post size and roof profile.
- A 3D rendering that shows how the pergola looks from the street and neighbors’ yards.
- Product data sheets for the aluminum system, louvers and finish.
- Color samples or photos showing how the frame color matches your trim, windows or roof.
- A drainage plan showing where water from the gutters and posts will go.
- Engineering or permit drawings, if your city requires a permit.
- Neighbor letters of support, if your HOA accepts them.
Step 3: Design changes that often get approval
- Lower the height to stay under the limit or below the roofline.
- Move or resize the pergola to meet setbacks.
- Match colors to existing trim or roofing. Neutral colors like white, bronze or dark gray are commonly accepted.
- Attach it to the house instead of freestanding, so it reads as part of the architecture.
- Route drainage into your own yard or existing gutters.
- Reduce visibility by placing it behind the house or adding landscaping.
Step 4: Resubmit with a clear cover letter
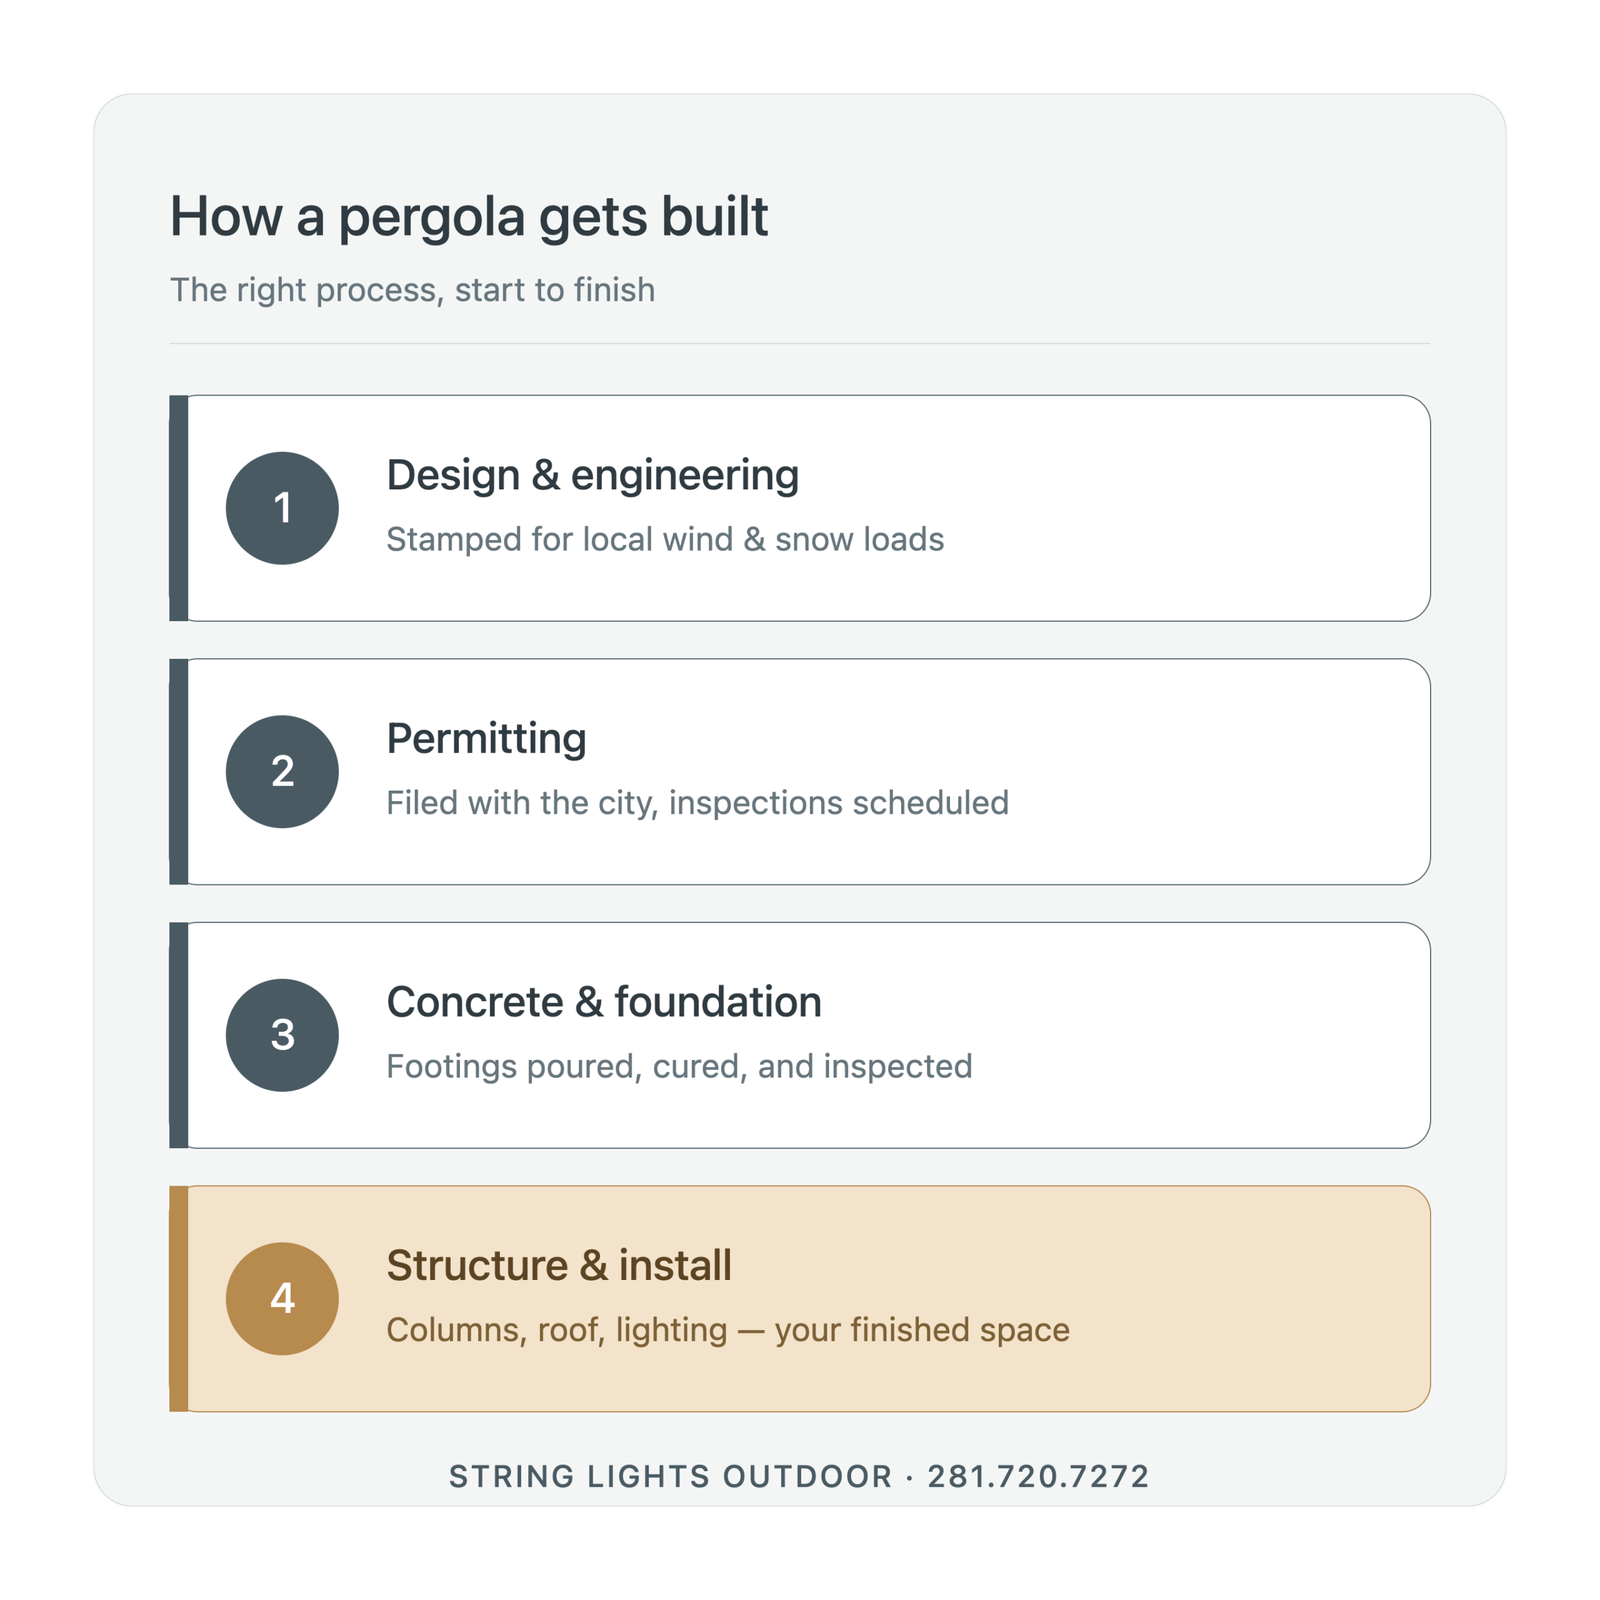
Write a short letter that lists each concern from the denial and explains how the new submittal addresses it. Keep it factual and polite, and include page references to your drawings. If your HOA allows it, ask to attend the committee meeting to answer questions.
How we help with HOA submittals
String Lights Outdoor prepares the drawings, 3D renderings, product data and color options that HOAs and ACCs typically ask for. We have supported ACC submittals for residential louvered pergolas in Houston neighborhoods and adjust designs to meet local guidelines. Our $500 design consultation includes a free 3D design and measurement drawing, which is often the most useful document in an HOA package.
HOA pergola FAQ
Can the HOA stop me from building a pergola?
If your property is subject to deed restrictions, the HOA can usually require approval. Read your documents, and consult a real estate attorney for legal questions.
Do I need a city permit as well?
Possibly. HOA approval and city permits are separate. See our Houston pergola installation guide.
How long does HOA review take?
It varies by association. Check your guidelines for review timelines and meeting dates, and plan your project around them.
Need help with your HOA resubmittal? Talk to us
String Lights Outdoor has been building outdoor living spaces since 2016 and has been based in Houston since 2020. Our team handles the full project: site visit, design, engineering coordination, manufacturing, installation and after-sale service. We also manufacture our motorized blinds in-house in Texas.
The best first step is a design consultation ($500), which includes a free 3D design and a measurement drawing for your space, so you can see the finished project and make decisions with real numbers.
- Call 281.720.7272 or 832.866.2626
- Schedule a meeting online
- Request a quote
- Visit our showroom: Decorative Center of Houston, Suite 5002
Watch one of our recent projects: